If you want to add multiple images to your site, there are two ways to complete that. One is Gallery component and the other is Slideshow component. Gallery and Slide show have different display effect.

Gallery: Displays photos in a grid, clicking on an image opens it in a large “lightbox” display.
Slideshow: Displays one large photo at a time within the page, with sequential thumbnails.
Gallery
Our gallery element enables you to display as many images as you’d like. Drag the Gallery to the elements area in the middle part of page.
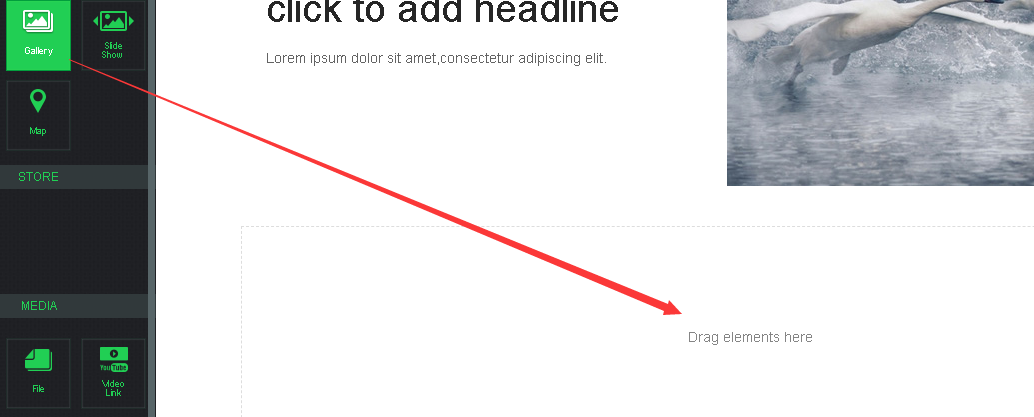
Then click the Upload Images button.

.
The instruction will guide you to upload images from your computer. You can select multiple images by holding the CTRL key on a PC or the Command key on a Mac
Give the photos a few minutes to upload and then you'll see your gallery on the page.
Click on the image and the gallery's tool panel enables you to make additional settings.
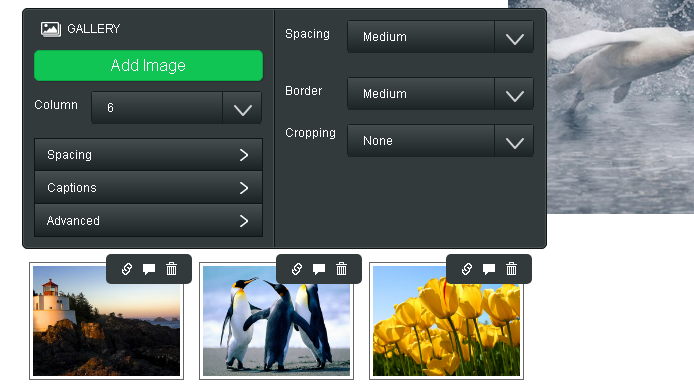
Add Images: There's no limit, but we recommend uploading less than 300 images so as to not overwhelm your visitors.
Determine the number of Columns you want. The default is 3, but you can use from 2 to 6.
Select the amount of Spacing to place between each image.
Adjust Caption settings and placement.
And with Advanced, choose if you want a border around each thumbnail or not. And select if you want to crop the thumbnails to either squares or rectangles. This cropping has no impact on the enlarged images, it only changes the look of the thumbnails to make the gallery look more uniform.
Slideshow
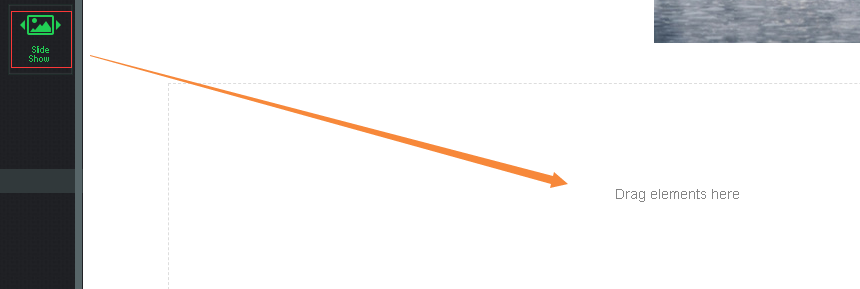
Drag the Gallery to the elements area in the middle part of page.
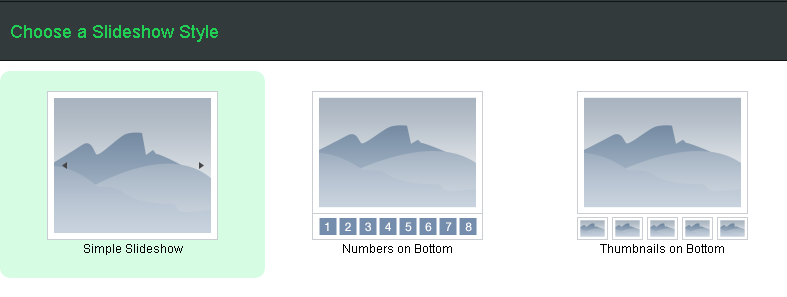
Choose one displaying style from "Choose a Slideshow Style" dialog box. This can always be changed later.
You'll now be prompted to upload photos. Then select the photos you want to upload. You're to both delete unwanted photos and and more photos to the slideshow at any time.

Click Save and you'll see the slideshow as part of the page. Click the image, and you will see a dialogue box, with which you can make more setting on images.
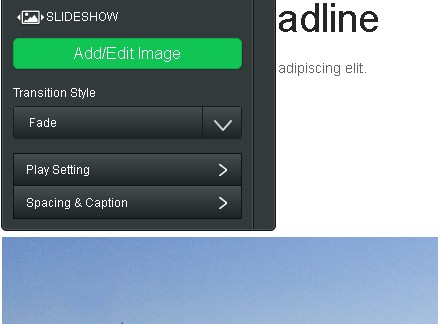
Use the Add / Edit Photos button to bring up the Manage Photos dialog box we saw earlier.
Use Transition Style to switch between five different photo transitions.
Use Navigation to select whether you want to use Thumbnails, Numbers or no navigation at all.
Use Speed to determine how fast the slideshow should play.
Use Spacing the tweak the amount of space around the image.
Use Caption to determine if any text captions should appear at the top or bottom of each image.
Use Auto Play to set Autoplay to On or Off.


 Views: 6995


 New conversation
 Submit a ticket
 Earn Money Now
 Search yourself
 Shop Now
 Submit